Do you need to see different information in your table? Here’s how to customize what shows up.
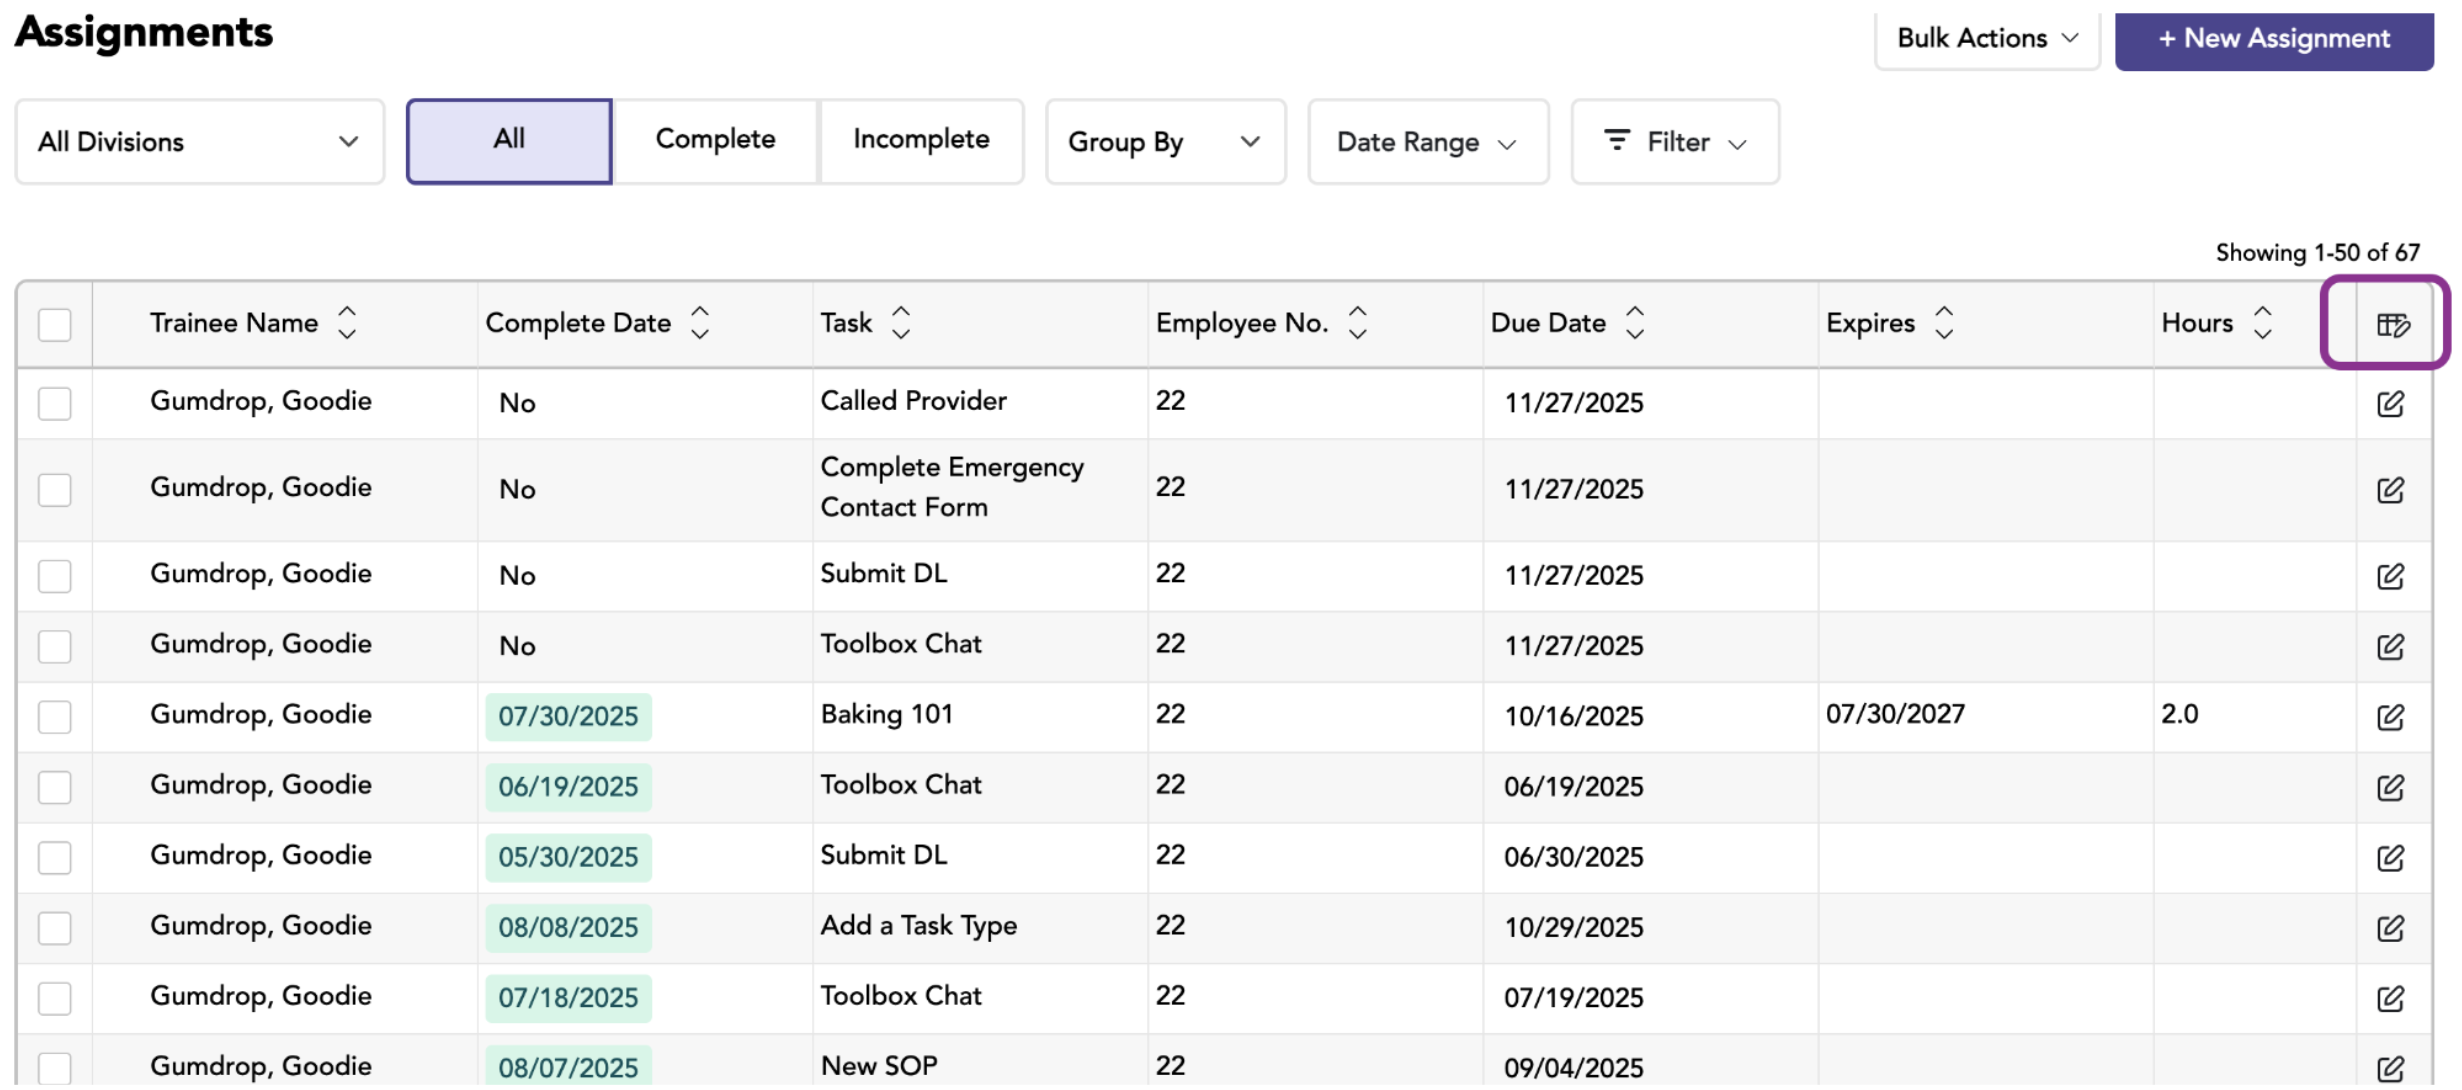
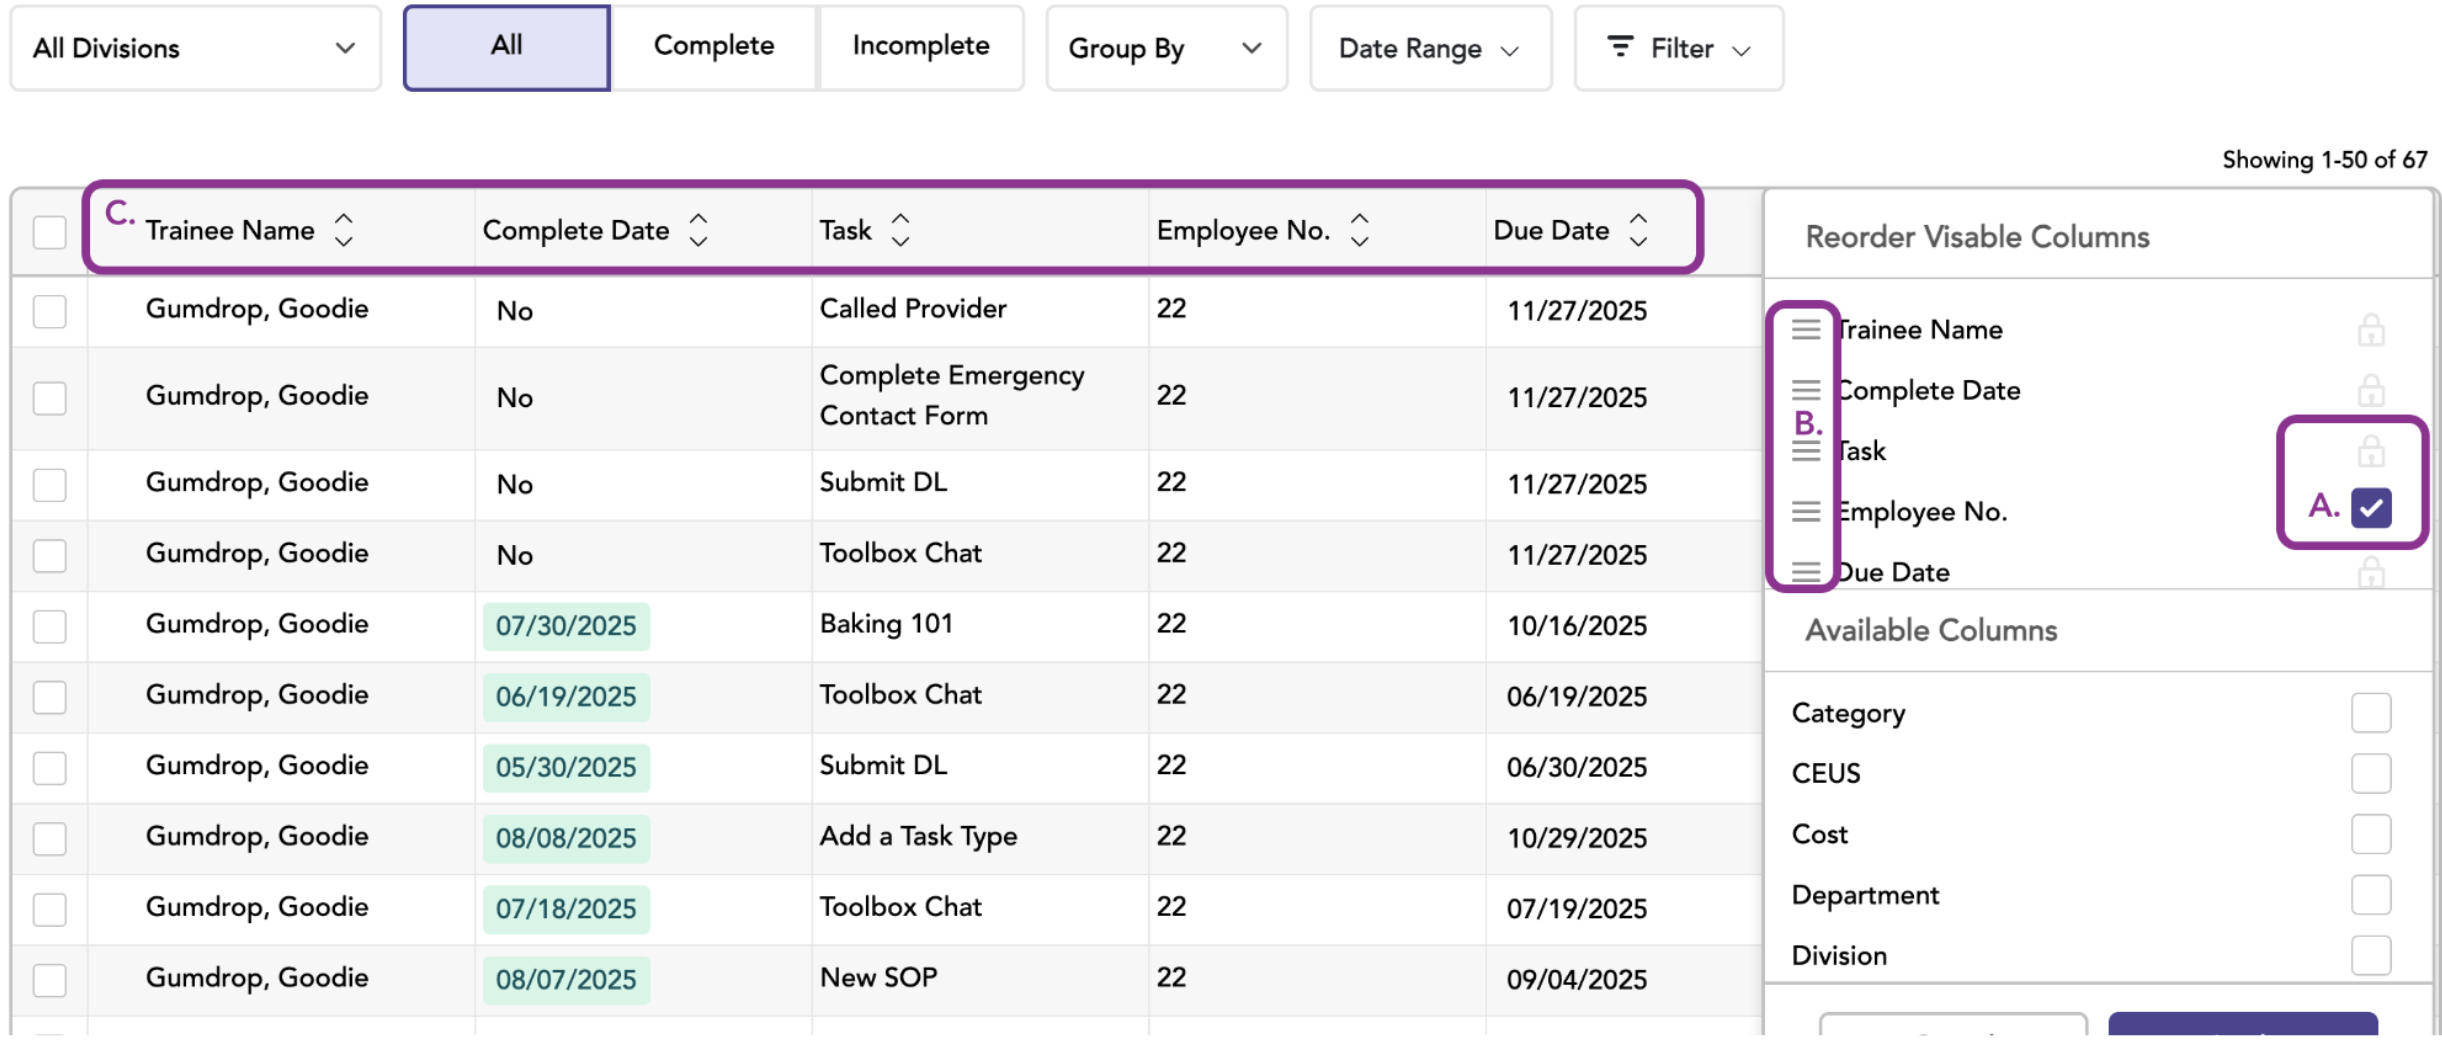
A. Add or Remove Columns
Check the box next to any column name to add it to your table. Uncheck the box to remove it. Note: Some columns are required and can’t be removed.
B. Move Columns Around
Grab the move icon next to any column name and drag it to where you want it. You can move required columns too—just not remove them.
C. See Default Column Setup
Want to know where columns normally appear? Look for the “default position” indicator to see the original layout.
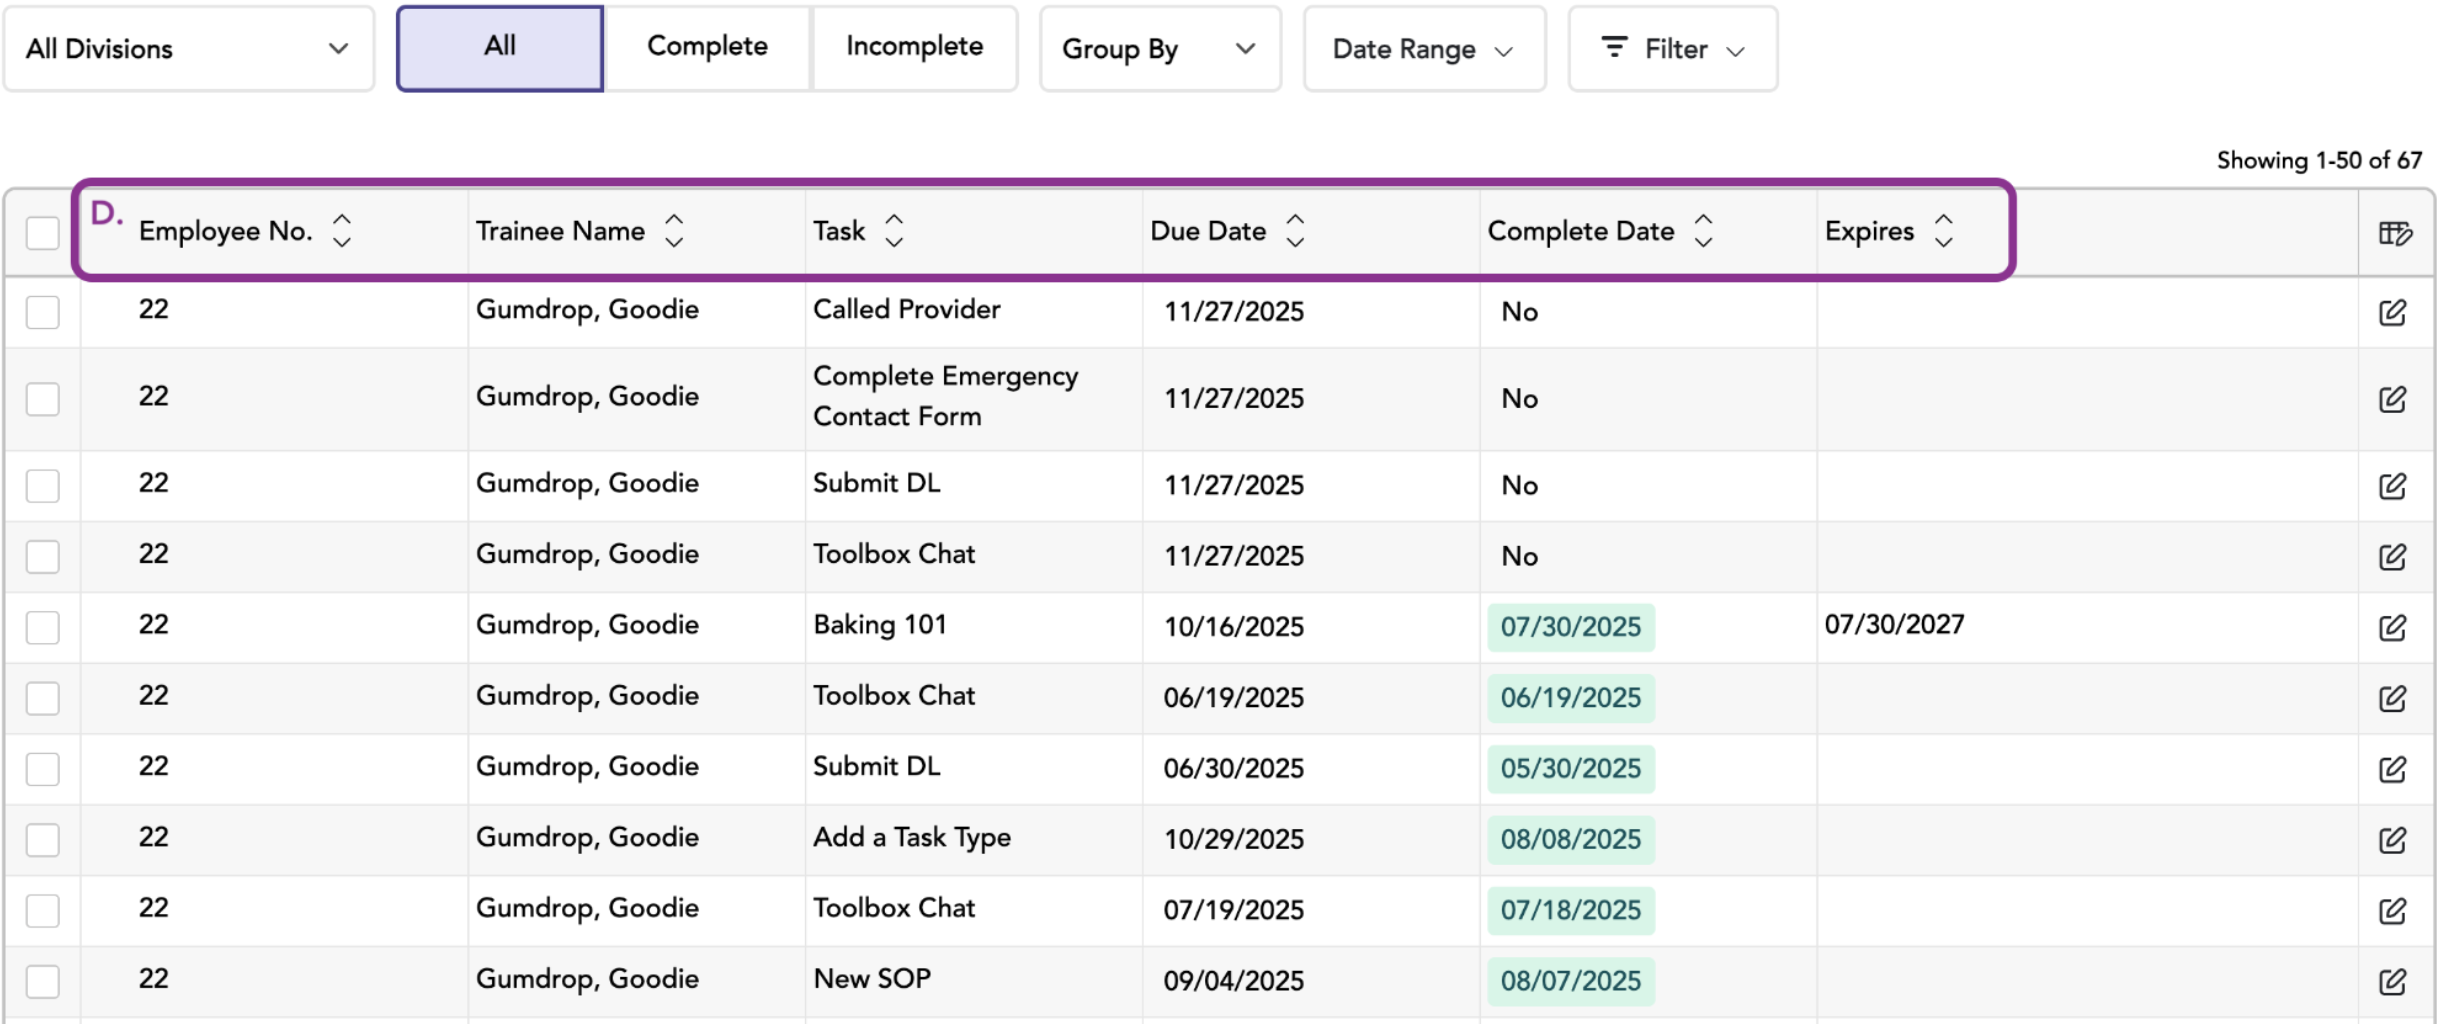
D. Change Your Columns
The table will then show you which columns you’ve changed from the original setup.
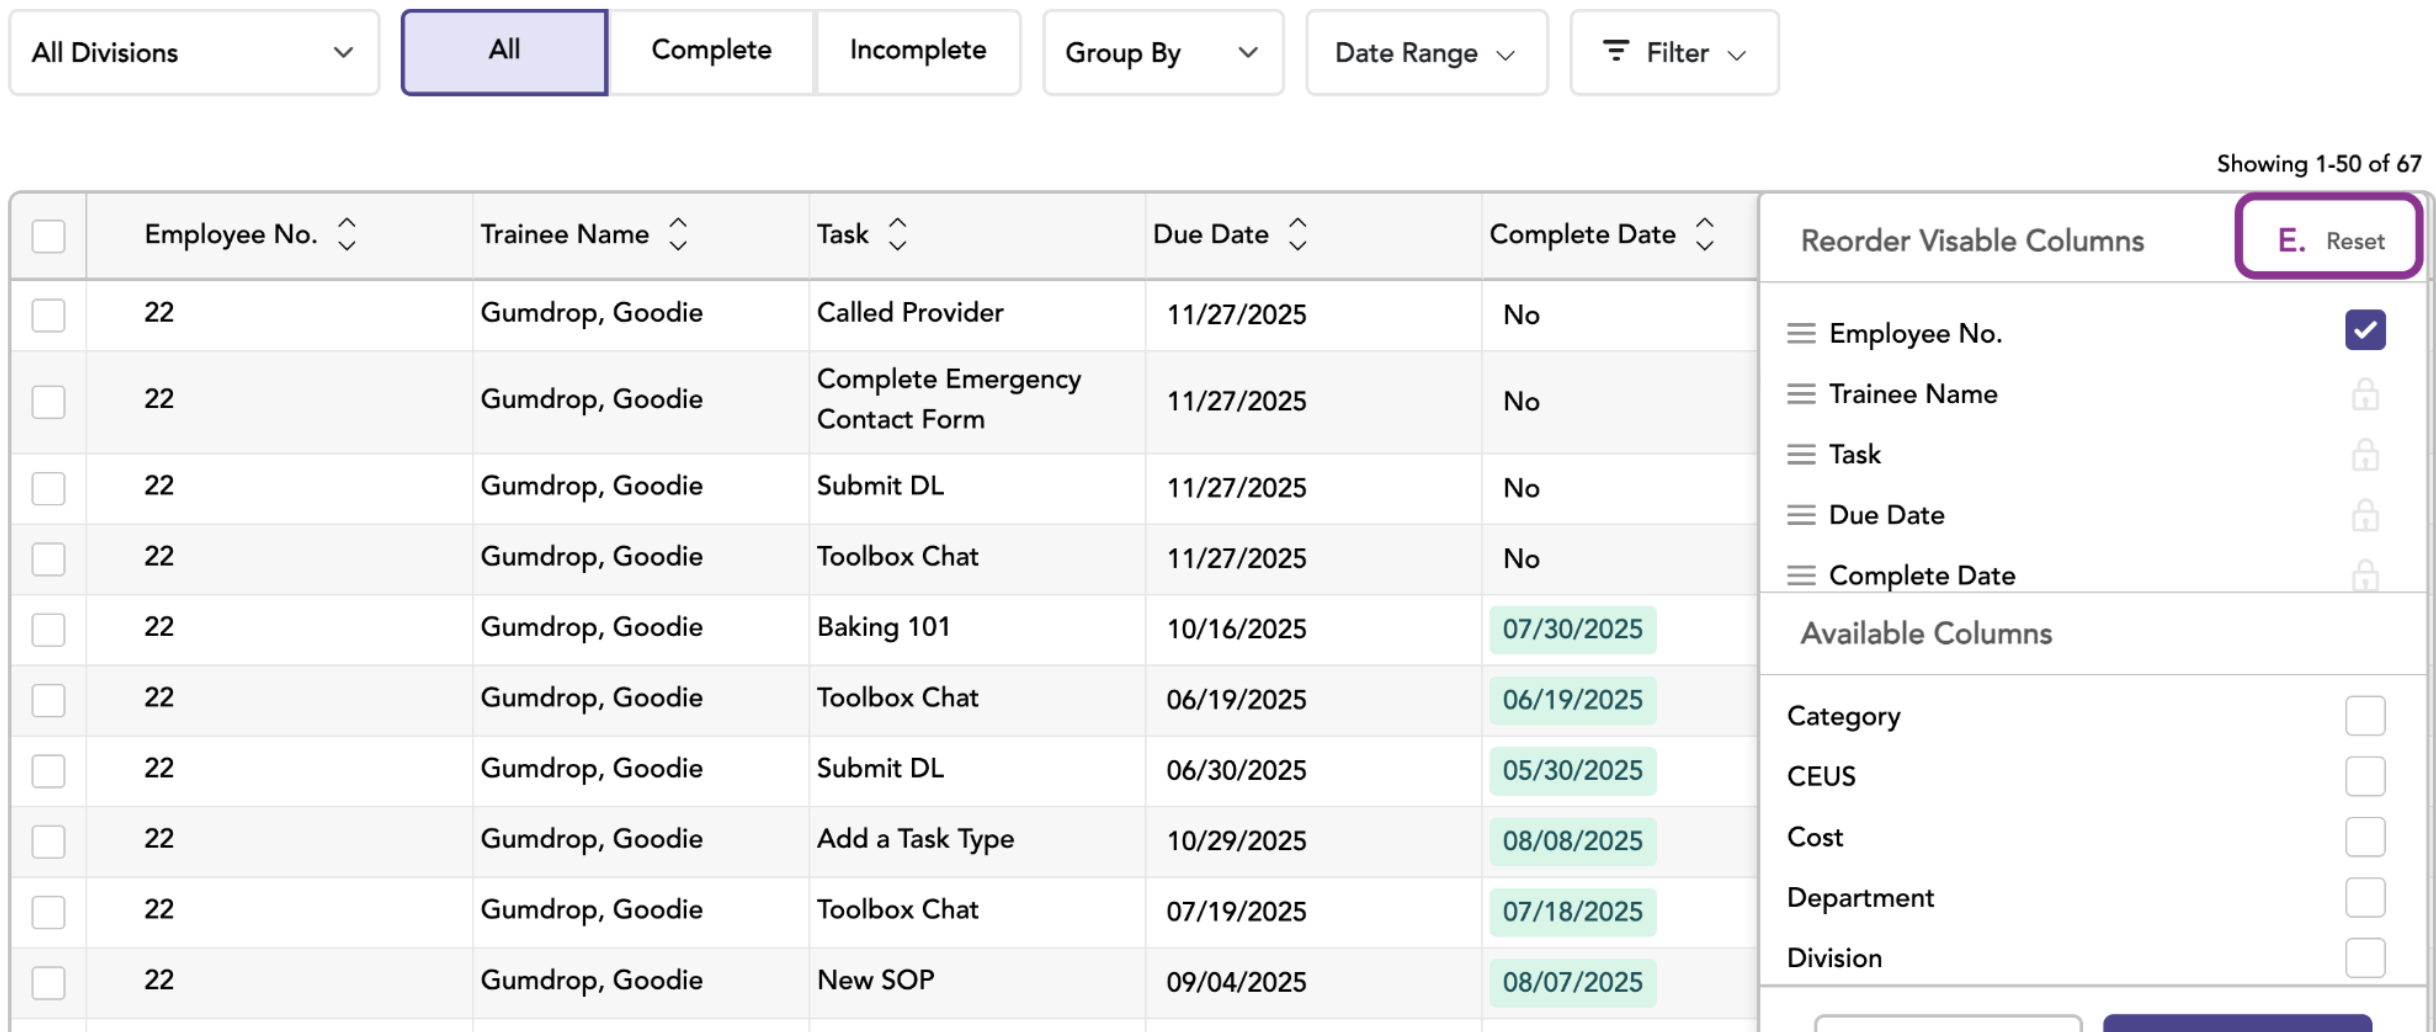
E. Start Over
Made too many changes? Click “Reset” to go back to the original column setup.
Important Notes:
Export files - When you download your data, you’ll get ALL columns, not just the ones you’re viewing.
Printer version - Printed reports use the default column setup, not your custom view.
Need help? - We’d love your feedback on how to make this feature even better!
This view is just for you—your custom columns won’t affect anyone else using the system.